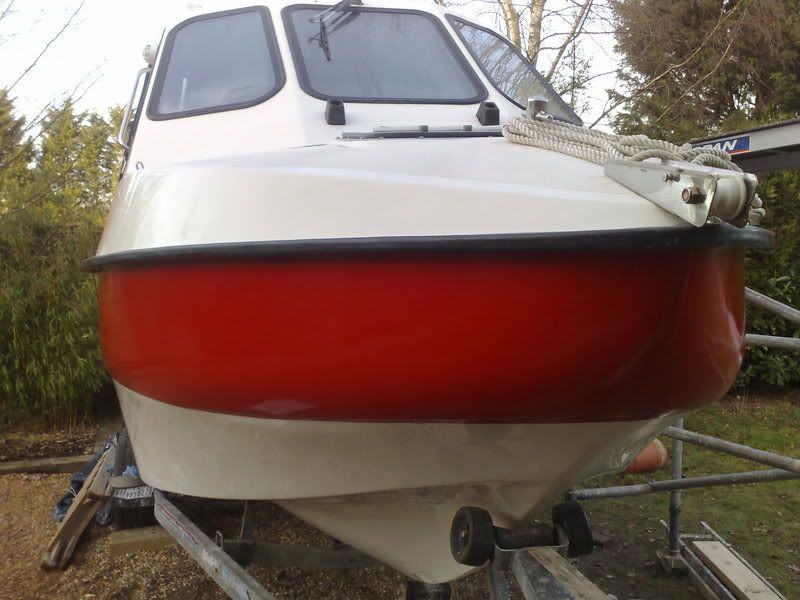
Post by Sunny on Apr 5, 2010 21:22:02 GMT
Haven’t done a report for a couple of weeks; and progress has been slow, or so it seems. The Bank Holiday has given me the chance to get a big chunk done.
I had fitted my LED deck lights, but wasn’t happy with the amount of illumination. I wanted to supplement it with a large single or high Lumen cluster output. The obvious marine version was the Hella Marine LED floodlight, but they are £120 !!!
Hours spent online and searching eBay it came down to one sold on eBay Australia or a UK light that is sold to the HGV market. All of these lights (including the Hella Marine version) have corrugated aluminium backs to vent heat; and are powder coated against the environment. The beams are all sealed and the electrics are sealed in epoxy resin.
The HGV light was only £36, so the choice was easy. Only time will tell if it can survive the marine environment – I’ll let you know.
Oh and should anyone be interested in getting these - the white cable is Nuetral and the black cable is live - don't ask me why !!
I thought I had bought a duff unit until I ran it this way...and perfect. They don't come with a wiring diagram or installation instructions ;D
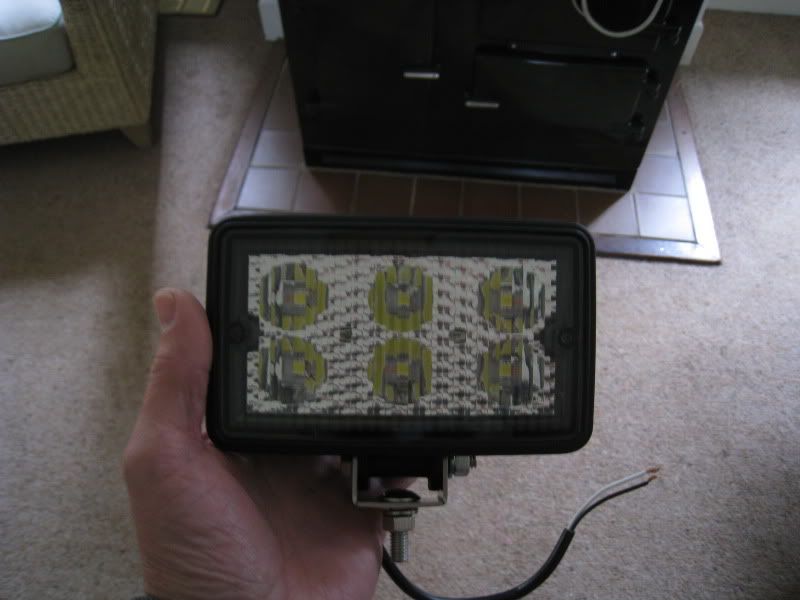

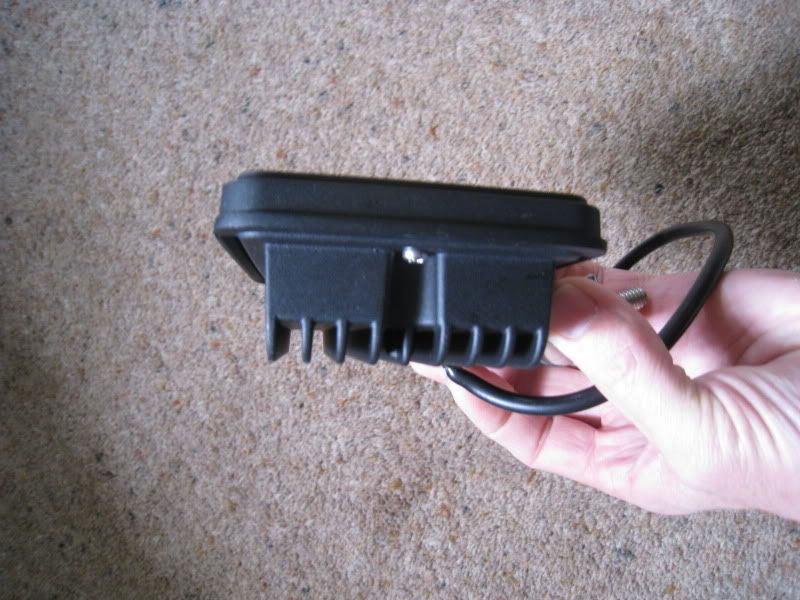
So I have fitted the light and also tidied away all of the electrics with half-moon plastic trunking (from B&Q). Its cheap and easy to cut to length, but the self adhesive backing probably isn’t up to the marine environment, so I chose to provide additional adhesion with No More Nails Ultra Instant Grab. Unfortunately this stuff does not do what it says on the tin; it isn’t instant and proved to be quite slow curing !!!!

The solution seemed to be to provide clamps whilst the glue cured
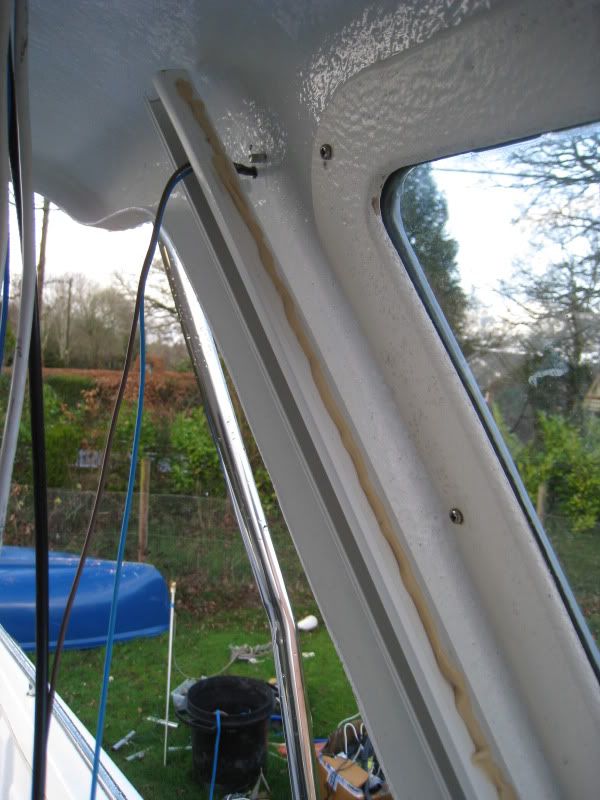

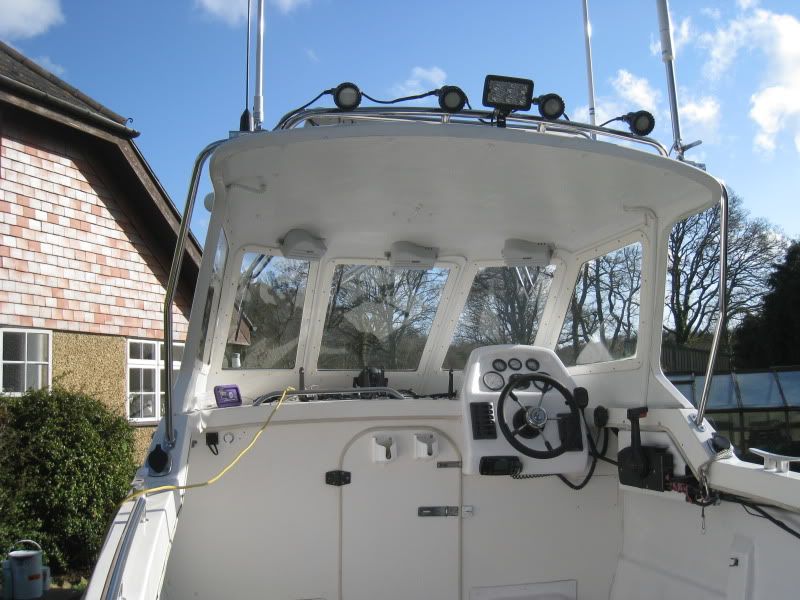
But I was happy with the finished results; cables neatly concealed and because of the rounded shape of the trunking it doesn’t look awkward or out of place. External cables sorted and LED Cluster fitted

Next up was sorting out the antifoul, but before I could start I needed to remove the remnants of some masking tape that had adhered to the gelcoat and had making a right mess. The lesson is – don’t use cheap masking tape; and if you do then make sure you remove it asap. This stuff had been on the boat for well over a year and was going to be a nuisance to remove
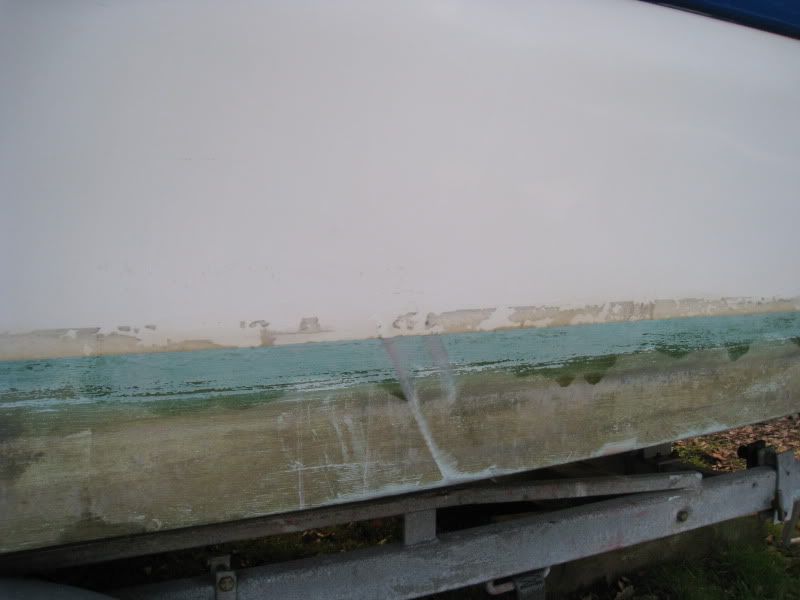
I tried all sorts to remove this gunk: white spirit, acetone, paint brush cleaner and t-cut, none of which were effective. In Halfords I found some glue cleaner spray and it worked slowly, but did the trick. Then after painting and polishing the gelcoat with Zymol Car Polish…awesome stuff


Happy with the antifoul I then set about painting the deck. I had spent some time researching 2-pack polyurethane paints and I decided to take a chance on this stuff from Decorators Direct. It is the one designed for warehouse floors with heavy traffic !!!
Now if that doesn’t survive on the boat – nothing will. Oh and the most important thing – its less than half the price of marine 2-pack deck paints. I also bought their medium coarse granules (sand). But just in case I also bought some high-tec granules off a supplier on eBay


Before I could begin I removed the old seat pedestals, gelcoat filler in the holes and then finally ready to start painting. First stage was to paint around the edges without granules - to give a smooth finish. I also ran a coat of smooth over the filled holes and space left by the old seat pedestal


I found that mixing the paint, hardener, sand and granules was simple enough, but very quickly the mixtures starts to settle out with the sand sinking to the bottom of the mixing pot. The simple solution was to use two small plastic pots (ice cream or large yoghurt) and just pour them backwards and forwards every 30 seconds. That way you keep the mixture consistent. I reckon this works better than putting down one coat of paint, then sprinkling sand on top and after it has dried then add another top coat. By mixing in the sand it only needs one coat and is spread more consistently

Right ...I think that's enough for one report
Soon be there
I had fitted my LED deck lights, but wasn’t happy with the amount of illumination. I wanted to supplement it with a large single or high Lumen cluster output. The obvious marine version was the Hella Marine LED floodlight, but they are £120 !!!
Hours spent online and searching eBay it came down to one sold on eBay Australia or a UK light that is sold to the HGV market. All of these lights (including the Hella Marine version) have corrugated aluminium backs to vent heat; and are powder coated against the environment. The beams are all sealed and the electrics are sealed in epoxy resin.
The HGV light was only £36, so the choice was easy. Only time will tell if it can survive the marine environment – I’ll let you know.
Oh and should anyone be interested in getting these - the white cable is Nuetral and the black cable is live - don't ask me why !!
I thought I had bought a duff unit until I ran it this way...and perfect. They don't come with a wiring diagram or installation instructions ;D


So I have fitted the light and also tidied away all of the electrics with half-moon plastic trunking (from B&Q). Its cheap and easy to cut to length, but the self adhesive backing probably isn’t up to the marine environment, so I chose to provide additional adhesion with No More Nails Ultra Instant Grab. Unfortunately this stuff does not do what it says on the tin; it isn’t instant and proved to be quite slow curing !!!!

The solution seemed to be to provide clamps whilst the glue cured


But I was happy with the finished results; cables neatly concealed and because of the rounded shape of the trunking it doesn’t look awkward or out of place. External cables sorted and LED Cluster fitted


Next up was sorting out the antifoul, but before I could start I needed to remove the remnants of some masking tape that had adhered to the gelcoat and had making a right mess. The lesson is – don’t use cheap masking tape; and if you do then make sure you remove it asap. This stuff had been on the boat for well over a year and was going to be a nuisance to remove

I tried all sorts to remove this gunk: white spirit, acetone, paint brush cleaner and t-cut, none of which were effective. In Halfords I found some glue cleaner spray and it worked slowly, but did the trick. Then after painting and polishing the gelcoat with Zymol Car Polish…awesome stuff


Happy with the antifoul I then set about painting the deck. I had spent some time researching 2-pack polyurethane paints and I decided to take a chance on this stuff from Decorators Direct. It is the one designed for warehouse floors with heavy traffic !!!
Now if that doesn’t survive on the boat – nothing will. Oh and the most important thing – its less than half the price of marine 2-pack deck paints. I also bought their medium coarse granules (sand). But just in case I also bought some high-tec granules off a supplier on eBay


Before I could begin I removed the old seat pedestals, gelcoat filler in the holes and then finally ready to start painting. First stage was to paint around the edges without granules - to give a smooth finish. I also ran a coat of smooth over the filled holes and space left by the old seat pedestal


I found that mixing the paint, hardener, sand and granules was simple enough, but very quickly the mixtures starts to settle out with the sand sinking to the bottom of the mixing pot. The simple solution was to use two small plastic pots (ice cream or large yoghurt) and just pour them backwards and forwards every 30 seconds. That way you keep the mixture consistent. I reckon this works better than putting down one coat of paint, then sprinkling sand on top and after it has dried then add another top coat. By mixing in the sand it only needs one coat and is spread more consistently

Right ...I think that's enough for one report

Soon be there






 live life to the max

