Post by Sunny on Feb 20, 2010 0:05:50 GMT
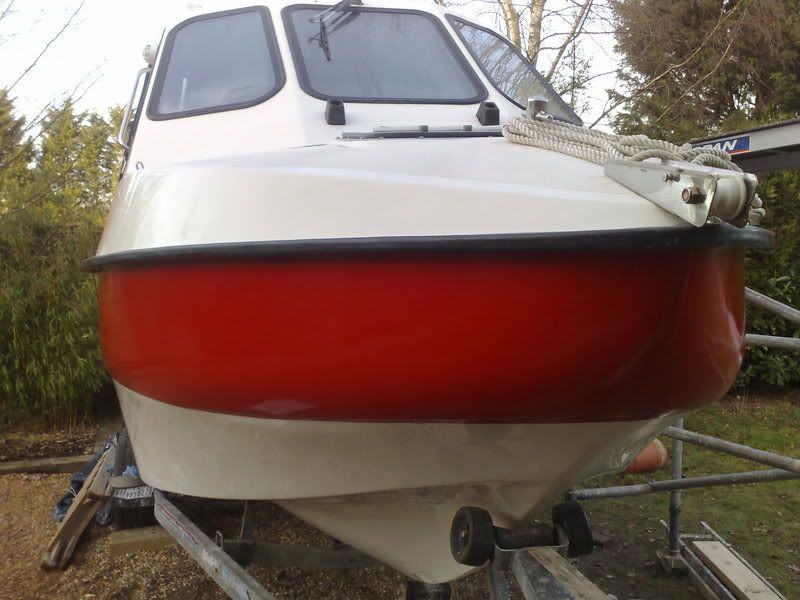
A short update to the re-fit....things have been progressing, but they have all been the kind of jobs that take ages and don’t come out well on film. Sanding, filling and repairing holes.
2-pack polyurethane paint on a number of areas...great stuff even though it takes days to harden-off in this weather.
I was faced with a problem bringing down the radar arch supports down onto the side of the boat; it meant removing the factory fitted cleats (shown below). Which created a problem with where to put the Cleats... the solution was to shorten the handrail (also shown in the photo) to make space for the new cleats
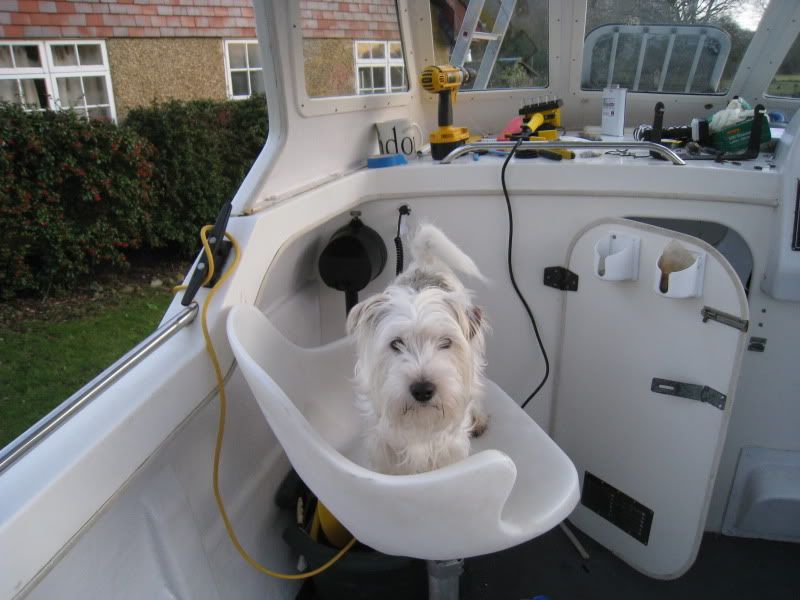
The solution was to shorten the freeboard handrail and fit new cleats to the sides

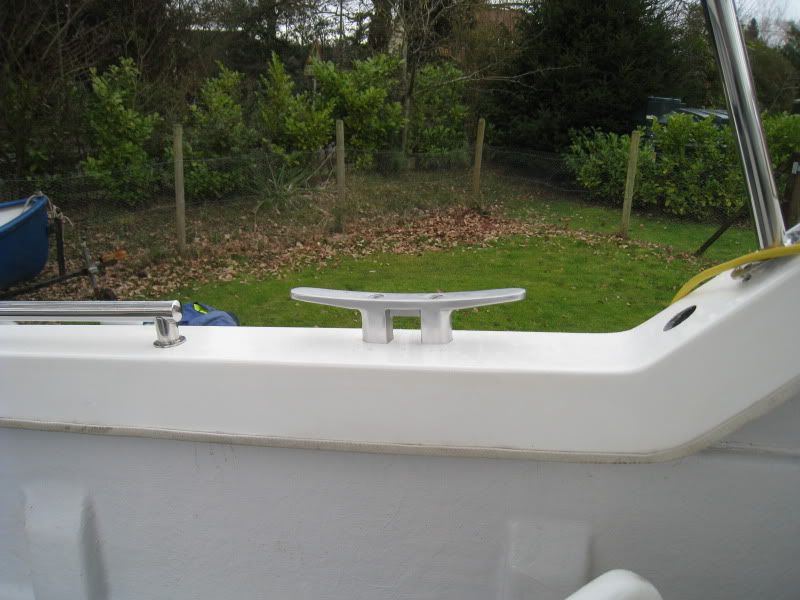
This still left the hole previously occupied by the end of the handrail...so the solutions were to either cap it off...or make use of the space ...so rod holders seemed a good solution... whether they get used or not !

The next task was to get the consol sorted ...I removed the old switch panel, to discover that the hole had been cut by Jack-the-Ripper with a chainsaw.... a right mess. The replacement switches are neater and have less of a flange, so I had to repair the right side of the hole; narrowing the space and tidying it up. A template made from an old tuppaware box, filled and Gelcoat filler over the top....

Next ...a proper template to cut the space for an auxiliary bank of switches...needed for other kit going in. Template and inner part of the switch fitted

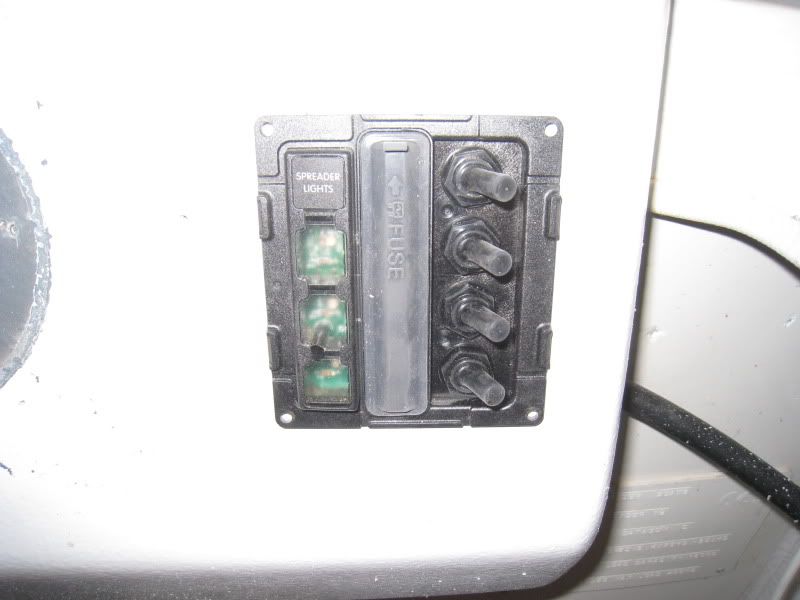
Then the remote control for the roof searchlight; fitted neatly in the centre space between the large display dials...perfect

Once satisfied with the layout I then stripped the lot out to get the 2-pack painting done...update to follow
2-pack polyurethane paint on a number of areas...great stuff even though it takes days to harden-off in this weather.
I was faced with a problem bringing down the radar arch supports down onto the side of the boat; it meant removing the factory fitted cleats (shown below). Which created a problem with where to put the Cleats... the solution was to shorten the handrail (also shown in the photo) to make space for the new cleats

The solution was to shorten the freeboard handrail and fit new cleats to the sides


This still left the hole previously occupied by the end of the handrail...so the solutions were to either cap it off...or make use of the space ...so rod holders seemed a good solution... whether they get used or not !

The next task was to get the consol sorted ...I removed the old switch panel, to discover that the hole had been cut by Jack-the-Ripper with a chainsaw.... a right mess. The replacement switches are neater and have less of a flange, so I had to repair the right side of the hole; narrowing the space and tidying it up. A template made from an old tuppaware box, filled and Gelcoat filler over the top....

Next ...a proper template to cut the space for an auxiliary bank of switches...needed for other kit going in. Template and inner part of the switch fitted


Then the remote control for the roof searchlight; fitted neatly in the centre space between the large display dials...perfect

Once satisfied with the layout I then stripped the lot out to get the 2-pack painting done...update to follow




 live life to the max